Safe and Effective Splinter Removal Using DUROX Splinter Removal Tweezers
Safe and Effective Splinter Removal Using DUROX Splinter Removal Tweezers
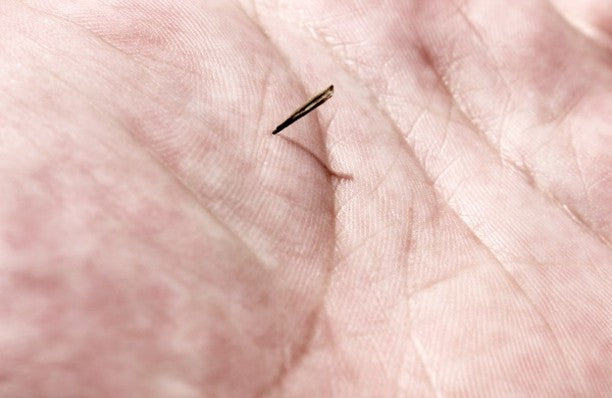
Splinters—tiny, unwelcome foreign objects such as wood, glass, or metal—can easily penetrate the skin during everyday activities, causing discomfort and posing a risk of infection. Both children and adults are susceptible to these minor yet painful injuries. While many splinters are superficial and can be managed at home with simple tools like needles and tweezers, others that penetrate deeper require careful removal to avoid further complications.
Understanding Splinters and Their Risks
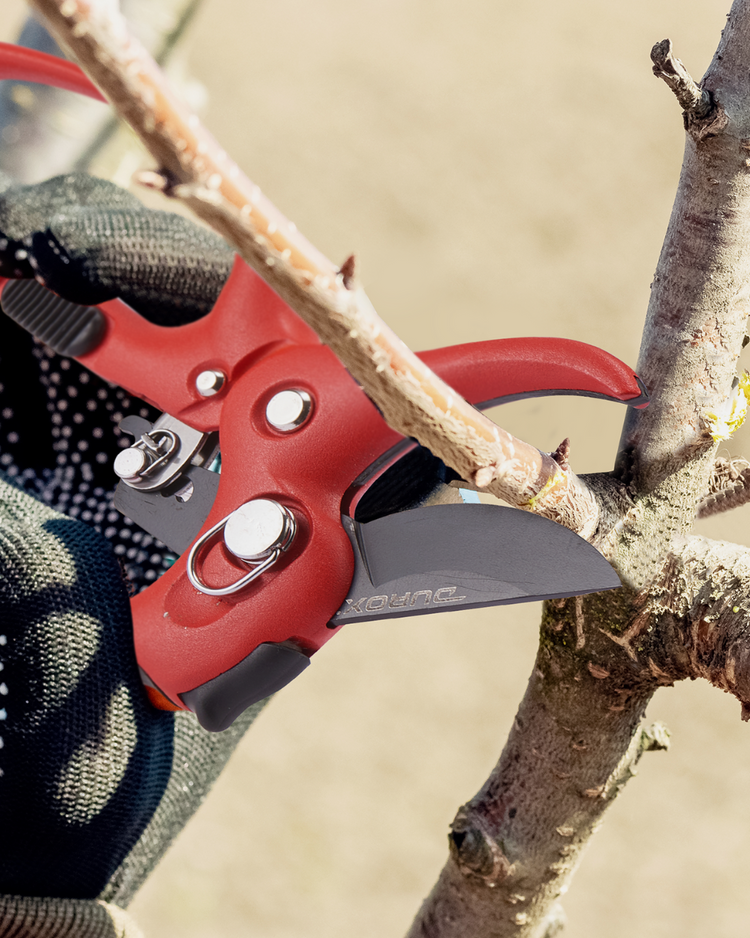
Splinters can be particularly troublesome when they lodge deeply or occur in sensitive areas such as under fingernails or toenails. For superficial splinters, a sterilized needle can be used to gently expose more of the splinter by pricking the skin above it, making it easier to grasp. For visible but embedded splinters, DUROX Splinter Removal Tweezers are ideal due to their precision; ensure the tweezers are sterilized with alcohol before use, then grasp the splinter firmly near its base and pull it out in the direction it entered. However, deeply embedded splinters, those near sensitive areas like the eyes, or splinters causing significant pain and signs of infection should be handled by a medical professional to ensure safe removal and to address any potential complications, especially if there is significant bleeding.
Step-by-Step Guide to Safe Splinter Removal
For those who prefer to handle splinter removal at home, here is a detailed, step-by-step guide that ensures safe and effective treatment:
1. Prepare the Area and Tools:
o Clean Hands and Affected Area:

Begin by washing your hands and the splinter area with soap and warm water to minimize the risk of introducing bacteria.
o Disinfect Tweezers:
Sterilize your tweezers by soaking them in rubbing alcohol for a few minutes or using a sterile alcohol pad to wipe them down. This step is crucial to prevent infection.

2. Locate and Assess the Splinter:
o Identify Splinter Location:
Carefully examine where the splinter has entered the skin. Use a magnifying glass if the splinter isn’t easily visible.
o Determine Depth:
Assess whether the splinter is superficial or deeply embedded. If it is located under a nail or in a sensitive area, consider seeking professional help.

3. Use DUROX Splinter Removal Tweezers:
o Prepare the Tweezers:
Before use, carefully pull and rotate the handle to remove it from its protective cover.
o Sanitize:
Thoroughly sanitize the tips of the tweezers with rubbing alcohol. You can soak the tips in alcohol or wipe them down with a sterile alcohol pad to eliminate any bacteria and prevent infection.
o Grip Technique:
Hold the tweezers using your thumb and index finger near the tips for stability. Wrap your other three fingers around the protective cover. This grip provides optimal control and precision while you work with the tweezers.
4. Remove the Splinter:
o Expose the Splinter:
If the splinter is covered by skin, use the sanitized, sharp tips of your tweezers to gently lift or pierce the skin overlaying the splinter.
o Extract with Tweezers:
Securely grip the exposed end of the splinter with the tweezers and gently pull it out in the same direction it entered. This technique helps prevent the splinter from breaking, ensuring complete removal.
5. Clean and Disinfect the Wound:
o Wash the Area Again:
After removing the splinter, cleanse the area once more with soap and water.
o Apply Disinfectant:
Use an alcohol pad to thoroughly disinfect the site, preventing bacterial growth and potential infection.
6. Apply Antibiotic Ointment and Bandage:
o Antibiotic Ointment:
If the wound is significant or the splinter was large, apply an antibiotic ointment to aid in healing and prevent infection.
o Bandage the Area:
Cover the wound with a clean bandage to keep it protected from dirt and further injury.
7. Monitor for Signs of Infection:
o Daily Checks:
Observe the wound for signs of infection such as increased redness, swelling, pus, or continuous pain. Seek medical advice if these symptoms appear.
8. Follow-Up Care:
o Change Bandage as Needed:
Maintain the cleanliness and dryness of the area, replacing the bandage if it becomes soiled or wet.
o Watch for Healing:
Ensure the wound heals properly, without signs of infection or other complications.
Conclusion
By following this methodical approach, you can safely and effectively manage splinter removal at home using appropriate tools and techniques. However, always remember that for deeply embedded splinters, those in sensitive areas, or when in doubt about removal, professional medical intervention is advisable. Equip your home first aid kit with the right tools and knowledge to handle these common yet painful injuries with confidence.